How to Clean a Cast Iron Chiminea
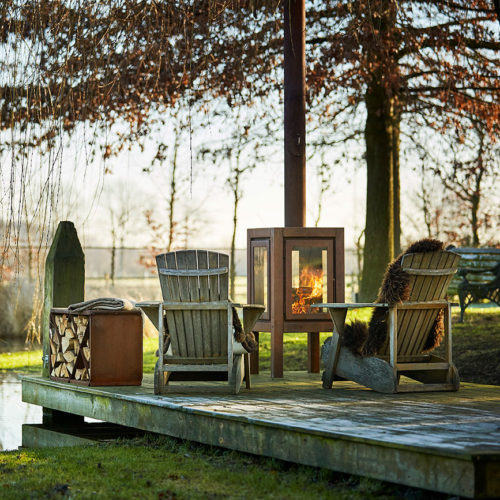
 Nowadays our outdoor spaces are more than just somewhere to dump the kid’s bikes and plonk a couple of containers of half-dead bedding plants, but an extension of our living area. More and more of us are using this space not so much as a garden but somewhere to entertain family and friends and not just for those sunny summer days but also the chillier evenings and lovely spring and autumn days. Elevating the space from the dumping ground to the relaxing nook doesn’t take a lot of creative flairs; all you need is a set of comfy garden furniture, a few cosy throws and a fire, then you can make the most of being outdoors.
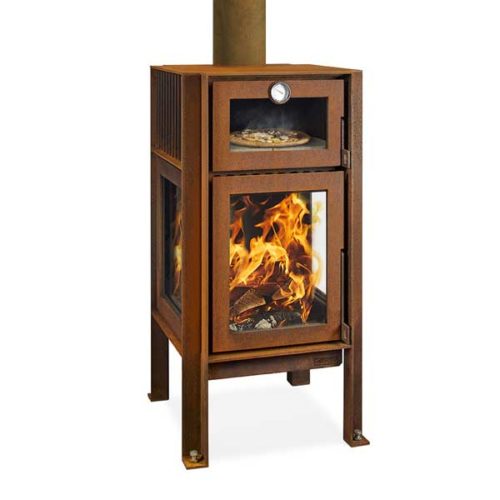
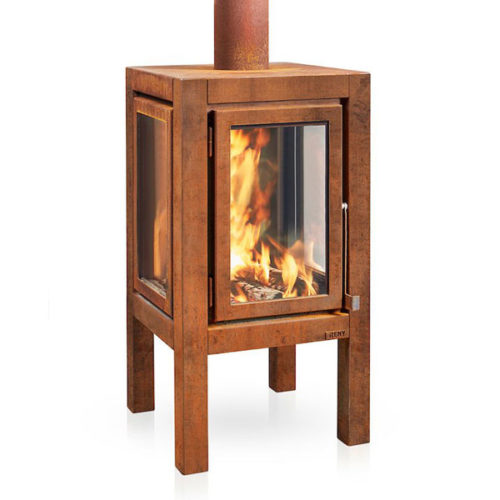
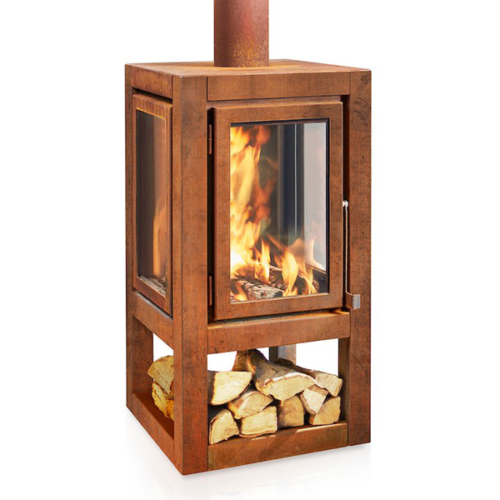
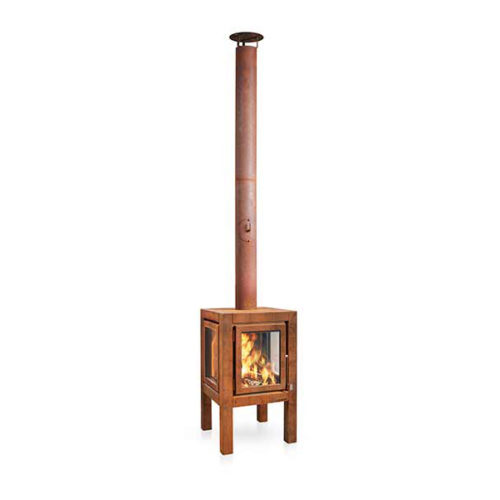
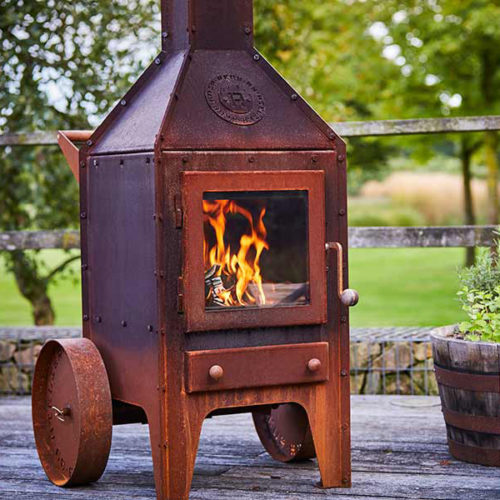
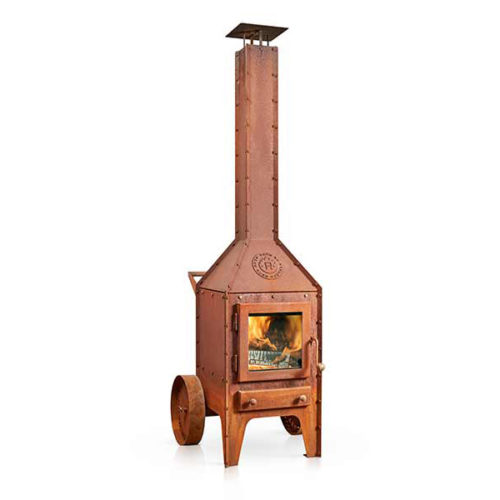
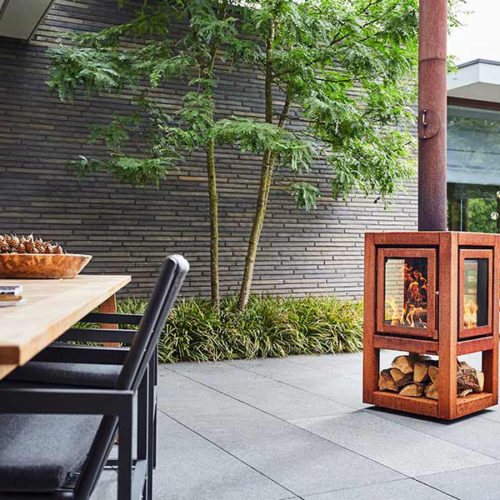
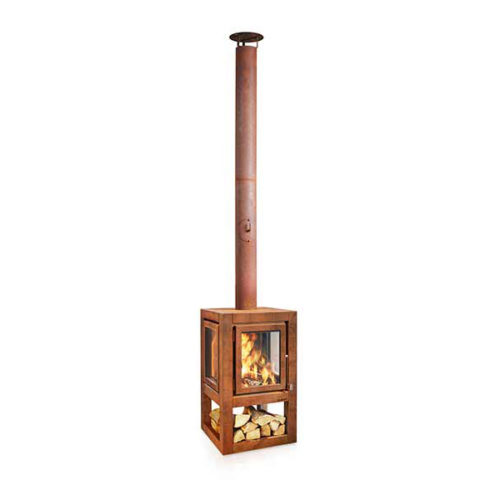
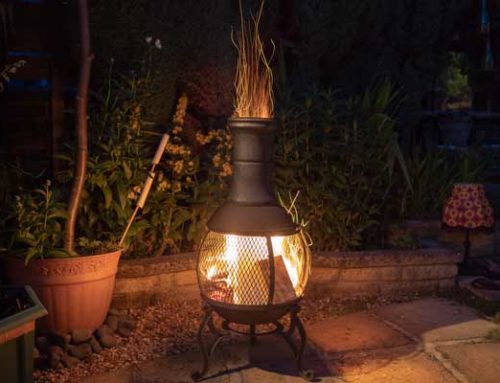
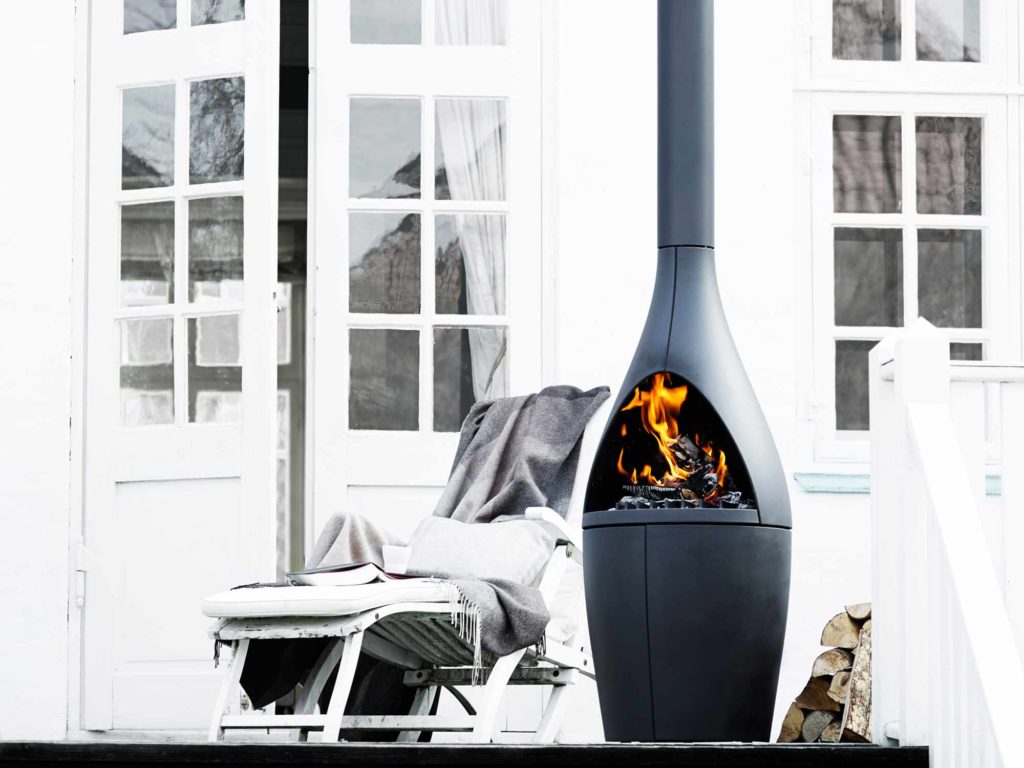
One of the best heat sources is a chiminea and today’s modern chic minimalist styles constructed from cast iron, and aluminium lend themselves to a contemporary urban outdoor space. When you think of chimineas, the pot-bellied design immediately springs to mind, but nowadays there are a lot of stylish minimalist appliances, many of them also incorporating a cooking grill. These are especially useful if you don’t typically do a lot of outdoor entertaining as they are ideal for cooking standard barbecue food on a small scale.
Once you have taken delivery of your chiminea, think where it will be sited before you start assembly it as it will be more challenging to move in one piece. Don’t place it anywhere close to flammable material such as wooden fences and planters, over-hanging branches and wires, garden lighting and furniture. Stand it on a non-flammable, flat surface such as stone or porcelain tiles or a concrete base. Don’t stand it on wooden deck boards or gravel.
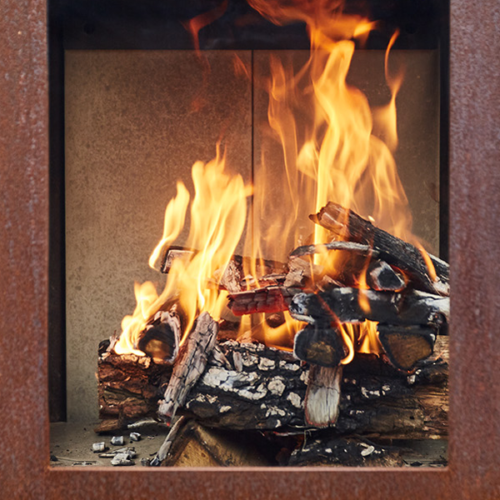
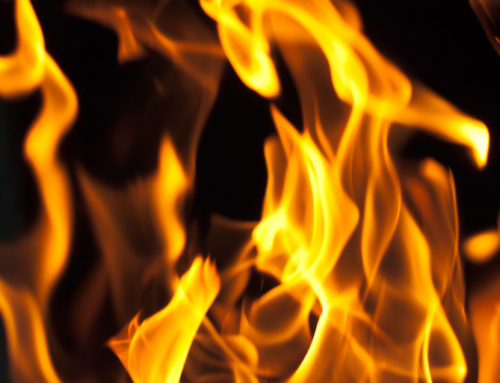
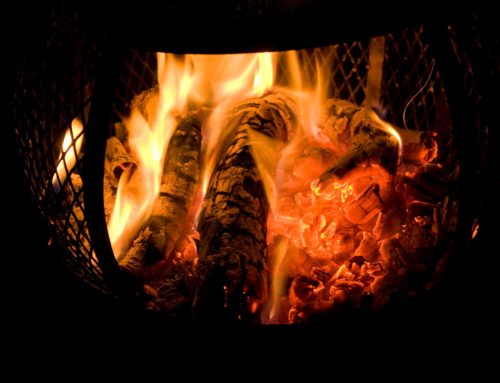
Your cast iron chiminea will inevitably rust as that is the nature of the material but with a few minutes regular maintenance you can keep it looking pristine and lasting a lot longer than if you just plonk it in a corner and forget about it. When first using the chiminea light a small fire with 4 – 5 scrunched up sheets of newspaper and a few pieces of kindling, thin strips of wood. Once these have burned gently for about an hour, add a few small parts, not one large log, of kiln-dried lumber and let these burns for another hour. Kiln-dried logs burn hotter, longer and cleaner than green wood, they don’t spit and leave a lot of ash and resin residue. They are a little more expensive than the unseasoned logs but are more cost-effective in the long run. Chimineas are not designed to become a towering inferno, so if you see flames licking out of the top of the chimney, then you have way too much fuel and run the risk of cracking the metal.
Make sure you keep it covered over the winter with a waterproof chiminea cover and if you live in an area where the weather can be harsh it would be wise to move it under cover for the winter. Don’t fully wrap it in bubble wrap as this just attracts condensation which will hasten any rusting. If you live in a coastal area, it would be wise to keep it covered at all times when not in use as the salt-laden winds will soon corrode the metal.
Keep it in good condition by following these simple steps:
- Remove the ashes and brush out every time it is used; once it has cooled.
- As soon as you see the paint flaking remove any loose paint and repaint with a heat-proof paint, available from fireplace retailers.
- Protect from water damage by placing on the lid when not in use; if you don’t have one just use an up-turned bucker over the top of the chimney, once it has cooled. If the chiminea fills with water, it could be difficult to light, and the resulting steam could crack the metal.
- Regularly clean the grill with a wire brush or barbecue cleaner; especially important if you cook on your chiminea.
- Cover in winter.
If you have a neglected chiminea or have acquired one in poor condition, see the article on how to restore a cast iron chiminea.